This article introduces the important aspects to consider when publishing a Python project on GitHub for individuals or enterprises.
Configuring setup.py#
Packaging and publishing are accomplished by preparing a setup.py file. Assume your project directory structure is as follows:
demo
├── LICENSE
├── README.md
├── MANIFEST.in # Used to customize the contents of `dist/*.tar.gz` during packaging
├── demo
│   └── __init__.py
├── setup.py
├── tests
│   └── __init__.py
│   └── __pycache__/
└── docs
Using the packaging command python setup.py sdist bdist_wheel will generate two files, demo-1.0.0-py3-none-any.whl and demo-1.0.0.tar.gz, in the dist directory.
The
.whlfile is used for installation viapip install dist/demo-1.0.0-py3-none-any.whl, installing it to the...\Python38\Lib\site-packages\demodirectory..tar.gzis an archive of the packaged source code.MANIFEST.incontrols the contents of this file.
The following example shows how to use MANIFEST.in to customize the contents of dist/*.tar.gz. The MANIFEST.in file contents are as follows:
include LICENSE
include README.md
include MANIFEST.in
graft demo
graft tests
graft docs
global-exclude __pycache__
global-exclude *.log
global-exclude *.pyc
Based on the above file contents, when using the command python setup.py sdist bdist_wheel to generate the demo-1.0.0.tar.gz file, it will include the LICENSE, README.md, and MANIFEST.in files, as well as all files in the demo, tests, and docs directories. Finally, it excludes all __pycache__, *.log, and *.pyc files.
For more information on the MANIFEST.in file syntax, see https://packaging.python.org/guides/using-manifest-in/
Official examples and documentation are available at https://packaging.python.org/tutorials/packaging-projects/
A Python sample project is available for reference at https://github.com/pypa/sampleproject
Carefully reviewing the links above will fully satisfy the publishing requirements for most projects.
Publishing to PyPI#
As Python users know, external libraries can be downloaded using the following command. Python has a large number of third-party libraries; publishing open-source projects to PyPI makes them easily accessible to users.
pip install xxxx
What is PyPI?#
PyPI is short for The Python Package Index, a repository for finding, installing, and publishing Python packages.
PyPI has two environments:
Preparation#
- To familiarize yourself with the PyPI publishing tools and process, use the test environment TestPyPI.
- If you are already familiar with the PyPI publishing tools and process, you can directly use the production environment PyPI.
- TestPyPI and PyPI require separate registrations. That is, if you are registered in the production environment, you will also need to register to use the test environment. Note: The same account cannot be registered on both PyPI and TestPyPI simultaneously.
Assuming your project is complete and ready to be published to PyPI, execute the following commands to publish your project:
rm dist/*
# Generate the source archive .tar.gz file and build file .whl file
python setup.py sdist bdist_wheel
# Use the following command to publish to TestPyPI
twine upload --repository testpypi dist/*
# Use the following command to publish to PyPI
twine upload dist/*
About pydoc#
Python has a built-in doc feature called pydoc. Running python -m pydoc shows its options and functionality.
cd docs
python -m pydoc -w ..\   # Generate all documentation
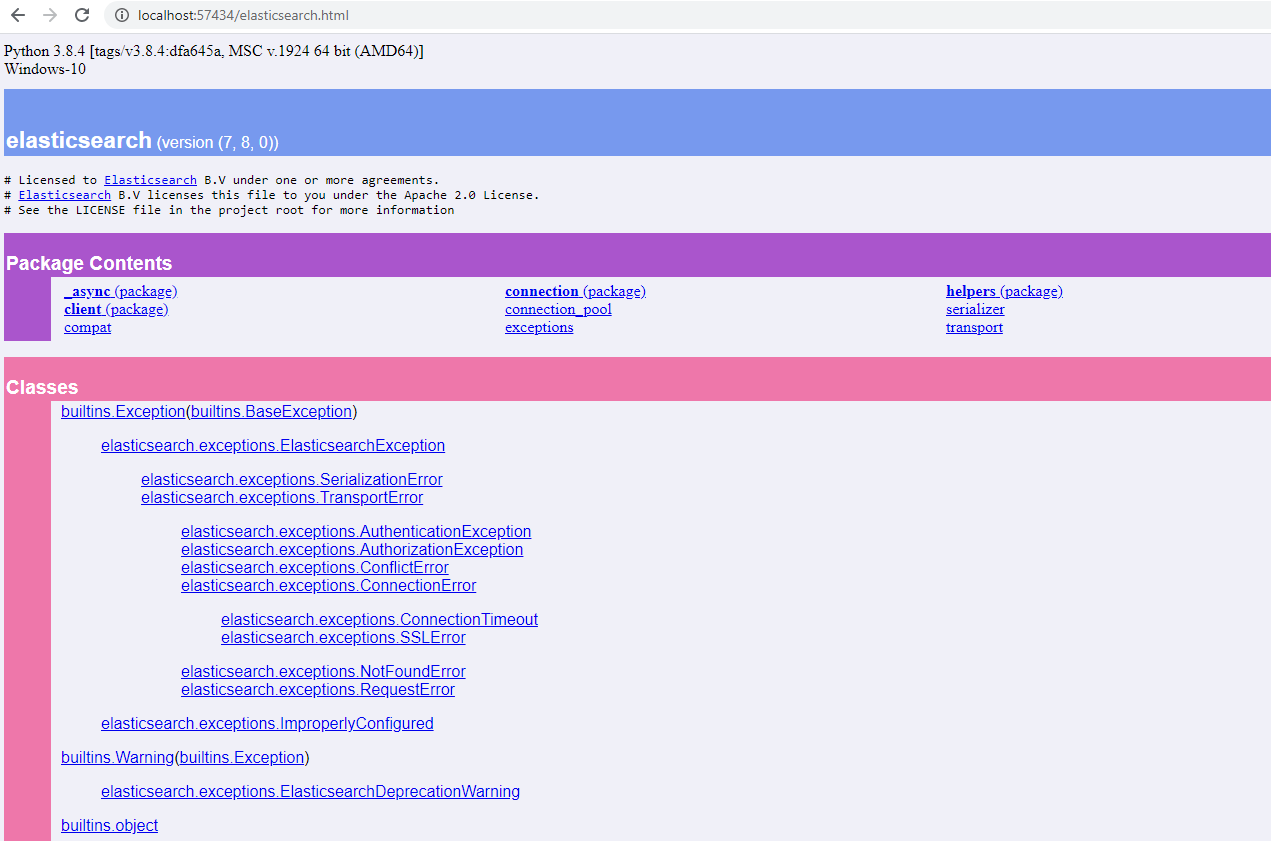
Running python -m pydoc -b starts a local web page to access the documentation for all libraries in your ...\Python38\Lib\site-packages\ directory.

How can this local web documentation be accessed externally? GitHub’s built-in GitHub Pages feature makes it easy to provide an online URL.
Open your GitHub Python project settings -> find GitHub Pages -> select your branch and path for the Source, and save to immediately get a URL. For example:
- https://xxxxx.github.io/demo/ is your project homepage, displaying the README.md information
- https://xxxxx.github.io/demo/docs/demo.html is your project’s pydoc documentation
About Version Number#
For official releases, pay attention to version number selection.
- For simple projects with low completeness, it is recommended to start with version 0.0.1.
- For projects with complete functionality and high completeness, you can start with version 1.0.0.
For example, a project has four stages from preparation to official release: Alpha, Beta, Release Candidate, and Official Release. If the official release version number is 1.1.0, according to the following versioning specification:
X.YaN   # Alpha release
X.YbN   # Beta release
X.YrcN  # Release Candidate
X.Y     # Final release
The Alpha, Beta, Release Candidate, and Final Release versions are as follows:
Alpha release version number is 1.1.0a1, 1.1.0a1, 1.1.0aN...
Beta release version number is 1.1.0b1, 1.1.0b1, 1.1.0bN...
Release Candidate version number is 1.1.0rc1, 1.1.0rc2, 1.1.0rcN...
Final release version number 1.1.0, 1.1.1, 1.1.N...
Python’s official versioning and dependency specification document
Choosing a License#
For enterprise projects, the license is generally provided by the company’s legal team; publishers only need to format the license file (e.g., formatting the license.txt file to 70-80 characters per line).
For personal projects or to learn about open-source licenses, common software open-source licenses (listed in order of condition count):
- GNU AGPLv3
- GNU GPLv3
- GNU LGPLv3
- Mozilla Public License 2.0
- Apache License 2.0
- MIT License
- Boost Software License 1.0
- The Unlicense
This article provides a reference: 《How to Choose an Open Source License for Your Github Repository》
Choosing a License: https://choosealicense.com/licenses Choosing a License for GitHub repositories: https://github.com/github/choosealicense.com Choosing a License Appendix: https://choosealicense.com/appendix

